Turning off private browsing on an iPad is a simple process. It ensures your browsing activity is saved.
Private browsing is great for keeping your online activities hidden. But sometimes, you might want to disable it. Maybe you want your browsing history saved for later use, or you want to track what your kids are viewing online. This guide will help you turn off private browsing on your iPad.
We will walk you through each step clearly. By the end, you will be able to switch from private to regular browsing with ease. Let’s get started.
Credit: connection.nwea.org
Introduction To Private Browsing
In today’s digital age, privacy has become a significant concern for many of us. Whether you’re looking to avoid tracking, hide your online activities, or simply browse without saving your history, private browsing can be a handy tool. However, there are times when you might need to turn it off. Let’s delve into the basics of private browsing and understand why you might want to disable it on your iPad.
What Is Private Browsing?
Private browsing is a feature available in most web browsers, including Safari on the iPad. When activated, it allows you to surf the internet without storing your browsing history, cookies, and cache.
Think of it as a temporary session where none of your activities are recorded. Once you close the private browsing window, everything is wiped clean. This can be useful for various reasons, like shopping for a surprise gift or researching sensitive topics.
However, remember that private browsing doesn’t make you completely anonymous online. Your internet service provider (ISP) and the websites you visit can still track your activities.
Why Turn Off Private Browsing?
While private browsing has its perks, there are scenarios where turning it off becomes necessary. For instance, if you share your iPad with family members, you might want to save your browsing history for future reference or to keep track of what has been researched.
Additionally, some websites or services may not function correctly in private mode. You might encounter issues with logging into accounts or saving preferences. Disabling private browsing can help in such cases.
Lastly, keeping a record of your browsing history can be beneficial for accountability, especially if your iPad is used by multiple people. It helps in monitoring the online activities and ensuring that the device is used responsibly.
Have you ever found yourself in a situation where private browsing was more of a hindrance than a help? Turning it off can be quite straightforward, and it might just solve some of the issues you’re facing.
In the upcoming sections, we’ll guide you through the steps to disable private browsing on your iPad. Stay tuned!
Credit: osxdaily.com
Preparing Your Ipad
Preparing your iPad is the first step to ensure that turning off private browsing goes smoothly. This involves checking your iOS version and backing up your data. These steps are crucial to avoid any disruptions.
Check Ios Version
Knowing your iOS version is important. Not all iPads operate the same way. If your iOS is outdated, you might not find the settings where you expect them to be.
Go to Settings, then tap General, and select About. You’ll see your iOS version listed there. If it’s not the latest, consider updating your software.
Backup Your Data
Backing up your data ensures you don’t lose important information. This is a safety net in case anything goes wrong.
Use iCloud or connect your iPad to a computer and use iTunes. Make sure you follow the steps to complete the backup process. This might seem tedious, but it’s worth it for peace of mind.
Have you ever lost data because you skipped backing up? It’s frustrating and can be avoided with a few simple steps.
Taking these preparatory steps will make the process of turning off private browsing straightforward and stress-free. Now that your iPad is ready, you can proceed with confidence.
Accessing Safari Settings
Accessing Safari settings on your iPad is the first step to turning off private browsing. Whether you’re managing your kid’s screen time or just want to keep track of your browsing history, it’s essential to understand how to navigate these settings effectively. Let’s dive into the process, starting with opening the Settings app and navigating to Safari.
Open Settings App
First, locate the Settings app on your iPad. It’s the grey icon with gears, usually found on your home screen. Tap on it to open.
Once you’re inside the Settings app, you’ll see a list of options on the left-hand side. This is your control center for all iPad settings.
Navigate To Safari
Scroll down the list until you find Safari. It’s typically located about halfway down the list, so keep an eye out for the blue compass icon.
Tap on Safari to open its settings. Here, you’ll find various options related to your browsing experience, including the ability to turn off private browsing.
Personal note: I remember the first time I had to adjust these settings to monitor my child’s online activity. It was surprisingly straightforward once I knew where to look.
Isn’t it interesting how a few taps can change your entire browsing experience? Have you ever wondered what other hidden features might be waiting for you in your iPad settings?

Credit: www.youtube.com
Disabling Private Browsing
Private browsing on an iPad allows users to surf the web without saving their history. But sometimes, you might need to turn this feature off. Whether for parental control, troubleshooting, or personal preference, disabling private browsing is a straightforward process.
Here’s how you can do it step by step.
Find Private Browsing Option
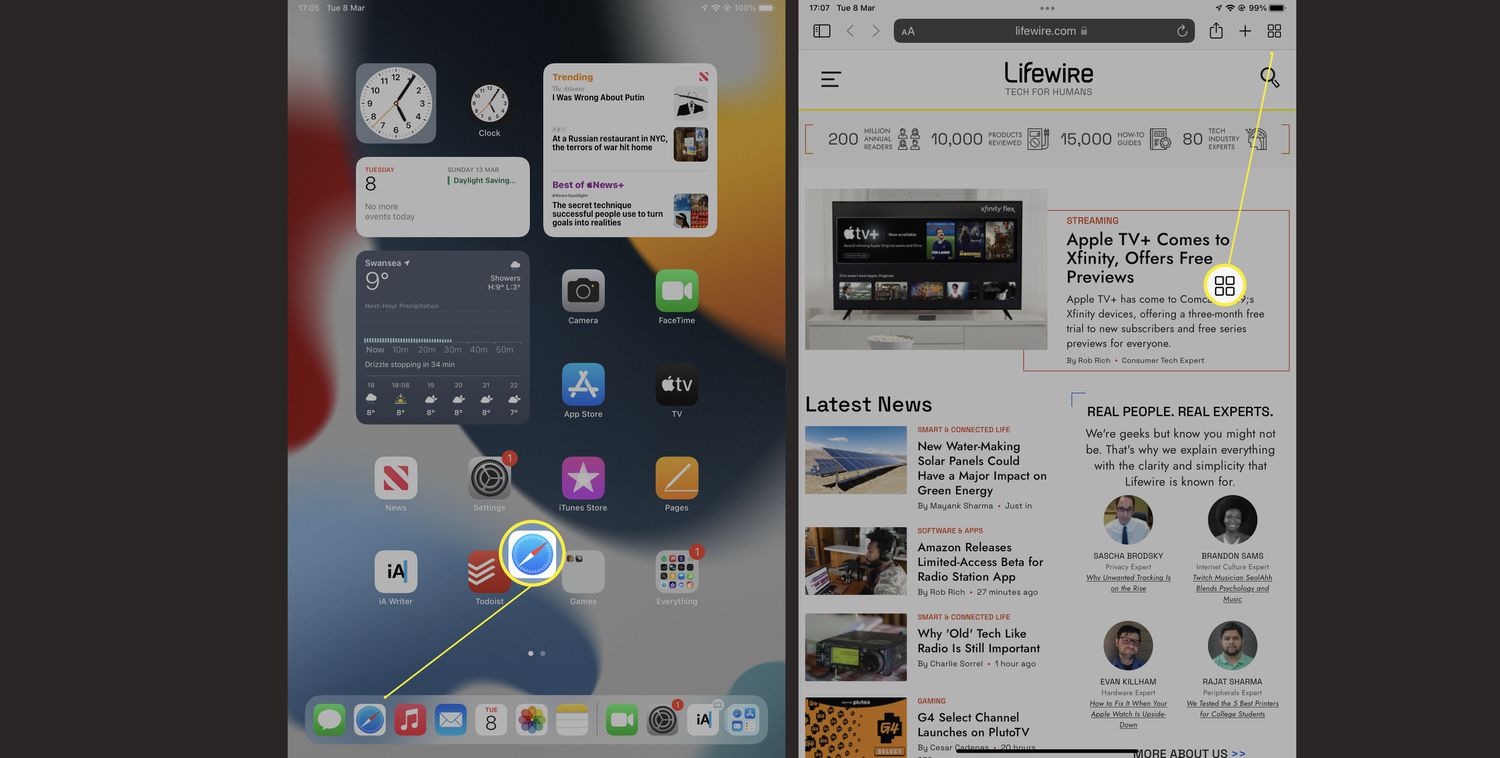
First, open the Safari app on your iPad. Look at the bottom-right corner for the icon that shows two overlapping squares. This icon represents your open tabs.
Tap on this icon to see all your open tabs. At the bottom of this screen, you will see the word “Private.” This indicates that private browsing is currently enabled.
Toggle Off Private Browsing
Tap on the “Private” button. This will switch you out of private browsing mode. You will notice that the background color changes, indicating you are now in regular browsing mode.
To confirm, open any webpage and check the history. If the page appears in your history, private browsing is successfully disabled.
Verifying Changes
After successfully turning off Private Browsing on your iPad, the next crucial step is verifying these changes. Ensuring that Safari is now operating in regular browsing mode can save you from unwanted surprises. Let’s walk through the steps to make sure everything is set correctly.
Open Safari
First, open the Safari browser on your iPad. You can do this by tapping the Safari icon on your home screen. If you can’t find it, swipe down and search for Safari in your apps.
Check Browsing Mode
Once Safari is open, look at the background of your browser tabs. Regular browsing mode should show a white or light grey background. If it’s dark or black, you are still in Private Browsing mode.
To further confirm, tap the tab button at the top right corner. If you see a ‘Private’ option highlighted, you need to switch back to regular mode. Tap ‘Private’ to deselect it and return to normal browsing.
It’s always a good idea to check your browser history as well. Open a new tab and try accessing the history by tapping the book icon at the bottom. If your past searches appear, you are no longer in Private Browsing mode.
Have you ever checked your browsing mode only to find out it’s still in Private? This simple verification process can save you time and ensure your browsing settings are as you intend. Are there other tips you have for ensuring your iPad settings are correct?
Being thorough with these steps ensures peace of mind and better control over your browsing experience. Don’t overlook the importance of these checks—it’s a small effort that goes a long way.
Troubleshooting Common Issues
Turning off private browsing on an iPad involves a few simple steps. Open Safari, tap the tabs icon, and select ‘Private’ to disable it. This will switch your browsing mode back to normal.
If you’ve ever had trouble turning off private browsing on your iPad, you’re not alone. Sometimes, things don’t go as smoothly as expected. This section will help you troubleshoot common issues so you can get back to regular browsing without a hitch.
Settings Not Saving
One common issue is settings not saving after you turn off private browsing. This can be frustrating, but don’t worry, there are solutions.
First, ensure you’re following the correct steps. Double-check that you’re closing private tabs and switching to regular browsing mode.
If that doesn’t work, try restarting your iPad. A simple reboot can solve many tech glitches.
Still having trouble? Check for any available updates. Outdated software can sometimes cause settings to revert.
Safari Crashes
Another issue you might encounter is Safari crashing when you attempt to turn off private browsing.
Start by clearing your browser history and website data. This can help eliminate any corrupted files causing the crash.
If the problem persists, close all other apps running in the background. Sometimes, too many open apps can overload your iPad.
You might also consider uninstalling and reinstalling Safari. This can be a bit drastic, but it often resolves persistent issues.
Are you still facing problems? It might be worth reaching out to Apple Support for specialized assistance.
By addressing these common issues, you can enjoy a smoother browsing experience on your iPad. Have you faced any of these problems? What solutions worked for you? Share your experiences in the comments below!
Alternative Methods
If you need to turn off private browsing on your iPad, there are several methods you can use. This section will explore alternative methods that can help you manage private browsing effectively.
Using Screen Time
Screen Time is a built-in feature on iPads. It helps you manage app usage and settings. To use Screen Time to disable private browsing, follow these steps:
Go to Settings on your iPad. Tap on Screen Time. If Screen Time is not enabled, turn it on. Set up a passcode for Screen Time.
Next, tap on Content & Privacy Restrictions. Turn on the toggle for Content & Privacy Restrictions. Then, tap on Web Content. Select Limit Adult Websites. This will automatically disable private browsing.
Third-party Solutions
There are third-party apps available that can help you control browsing settings. These apps offer additional features for managing your iPad. Some popular choices include Qustodio and Net Nanny.
To use these apps, download and install them from the App Store. Follow the setup instructions provided by the app. These apps often have more advanced options. They can help you monitor and control internet usage.
Using third-party solutions can be more flexible. They provide options not available in iPad settings. Explore the features of these apps to find the best fit for your needs.
Benefits Of Disabling Private Browsing
Disabling private browsing on an iPad helps monitor online activity. It also assists in maintaining parental controls and ensuring safe internet use.
Disabling private browsing on your iPad can offer several benefits. It not only enhances monitoring but also improves parental control. If you are wondering why you might want to turn off private browsing, consider these advantages.
Enhanced Monitoring
When private browsing is disabled, you can keep track of all the websites visited on your iPad.
This feature is particularly useful for family devices. You can quickly see if anyone is visiting inappropriate websites or spending too much time online.
Imagine catching your child browsing late at night. You can monitor their habits and ensure they are safe.
Improved Parental Control
Disabling private browsing helps parents maintain control over their child’s internet activity.
Children often use private browsing to hide their online actions. By turning off this feature, you can prevent them from accessing harmful content.
Think about the peace of mind you’ll get knowing your child isn’t exposed to unsafe websites. You can intervene and guide them toward more educational and appropriate online activities.
Have you ever wished for better oversight of your child’s online behavior? Disabling private browsing could be your answer.
Frequently Asked Questions
How Do I Get Out Of Private Browsing On My Ipad?
Open Safari. Tap the tabs button. Select “Private” to switch to regular browsing mode.
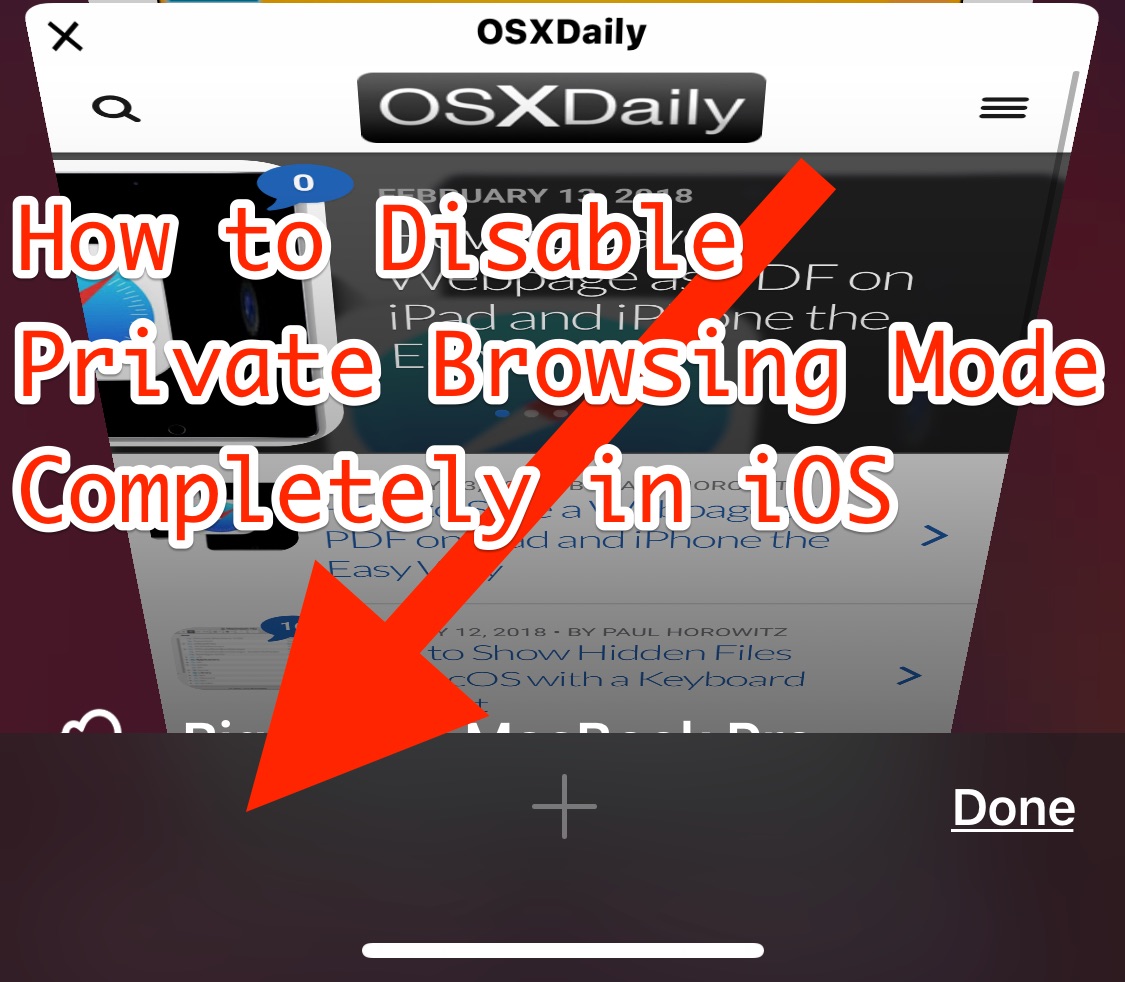
How Do I Remove Private Browsing In Safari?
Open Safari. Tap the tabs button, then tap “Private” to switch off Private Browsing. Select “Done” to confirm.
How Do I Change My Private Browsing Back To Normal?
To exit Private Browsing, close the private tab or window. Open a new regular tab or window.
How Do I Turn Off Private Network On Ipad?
Go to Settings on your iPad. Tap Wi-Fi. Select the connected network. Turn off “Private Address. “
Conclusion
Turning off private browsing on your iPad is simple. Just follow the steps. Keep your browsing history visible. Easily manage your online activity. Stay informed with regular browsing. Understanding privacy settings enhances your control. Enjoy a seamless browsing experience. Whether for personal or business use.
The choice is yours. Adjust settings as needed. Remember, knowledge empowers users. Navigate your iPad confidently. Ensure browsing aligns with your needs. Explore the internet with ease. Make changes whenever necessary. Stay updated with the latest tips. Your iPad, your rules.
Happy browsing!